
Magic Mirror 2 (the software)
I was reading about things to do with a Raspberry Pi and I came across the Magic Mirror 2 project. I remember reading about the first version of the software, but version two seems to be a drastic improvement over the original. The software has evolved into a platform. Now, the software simply provides the Magic Mirror environment. All the content for the display are handled by plugins.
How It Works
Basically, a “two-way mirror” is just a standard mirror but it’s doesn’t reflect 100% of the light. If one side of the mirror is dark and the other is bright, the glass will act as a mirror from the bright side. Most of the bright light will be reflected and the light that goes through is not reflected, because it’s dark on the other side. From the dark side, the glass will look like a piece of glass because it’s letting some light through.
It’s similar to a normal mirror. From one side, you can’t see through it because light is reflected back to you (making it a mirror). But from the other side, the light isn’t reflected. So you see the back of the mirror. Now, what if the reflective side let 30% of the light through and reflected 70%? What if it were really dark on the non-reflective side? The result would be that from the reflective side, you’d see a mirror because it’s reflecting the light. But from the dark side, you’d see the 30% of light that’s going through the glass.
The light difference is important because any light from the back side of the mirror can be seen on the front side. This is how the LCD screen behind the two-way mirror works. The dark parts of the screen don’t go through the mirror. So from the reflective side of the mirror, dark parts of the screen are a mirror. But if the LCD screen shows something bright, like text or an image, the light will go through the mirror, and be visible on the reflective side.
Computer Hardware
I had an old netbook that I wanted to use for this project. The Dell Inspiron 11Z had an 11in LCD, a super-slow 1.4 GHz Celeron processor from the 45nm days, and 2 GB of memory. It is certainly pokey, but should be enough to run just the Magic Mirror 2 software. Since the netbook was otherwise useless and had a working LCD, I figured I could keep costs low by using what I had.
I actually tested the software on the laptop before I started building anything. I installed Lubuntu on the hard drive and then installed MagicMirror 2. Fortunately, the Magic Mirror software ran without problems. CPU usage was a little high, it hovered between 20 and 40%, but no lags or slowdowns. Working with the software was relatively easy, you download and copy modules to one directory, and you edit the configuration file to change behavior.
The Mirror
I found a website selling small 12x12 inch samples of their two way mirrors. I chose the VanityVision over the dielectric because the VanityVision glass reflected more light. (In hindsight, I’m not sure the dielectric would be suitable for this.) I also got the non-tempered (beveled) version because I read that the tempered glass distorts the image some. Total cost was around $30, shipping included.
The Frame
I bought a 12x12 inch picture frame from Michael’s (local craft store) for $25. It wasn’t anything special. There’s no limit to how nice of a frame you can use.
Assembly
So my plan was to create a ‘box’ behind the frame, giving it some depth. In the extra space I created, I would mount mirror flush with the frame, the LCD would sit right behind the mirror, and the laptop would go behind that. A lot of my plan was improvised on the fly. I had no idea what kind of materials I had available. It started off as a loose concept and made decisions based on how things came together.
-

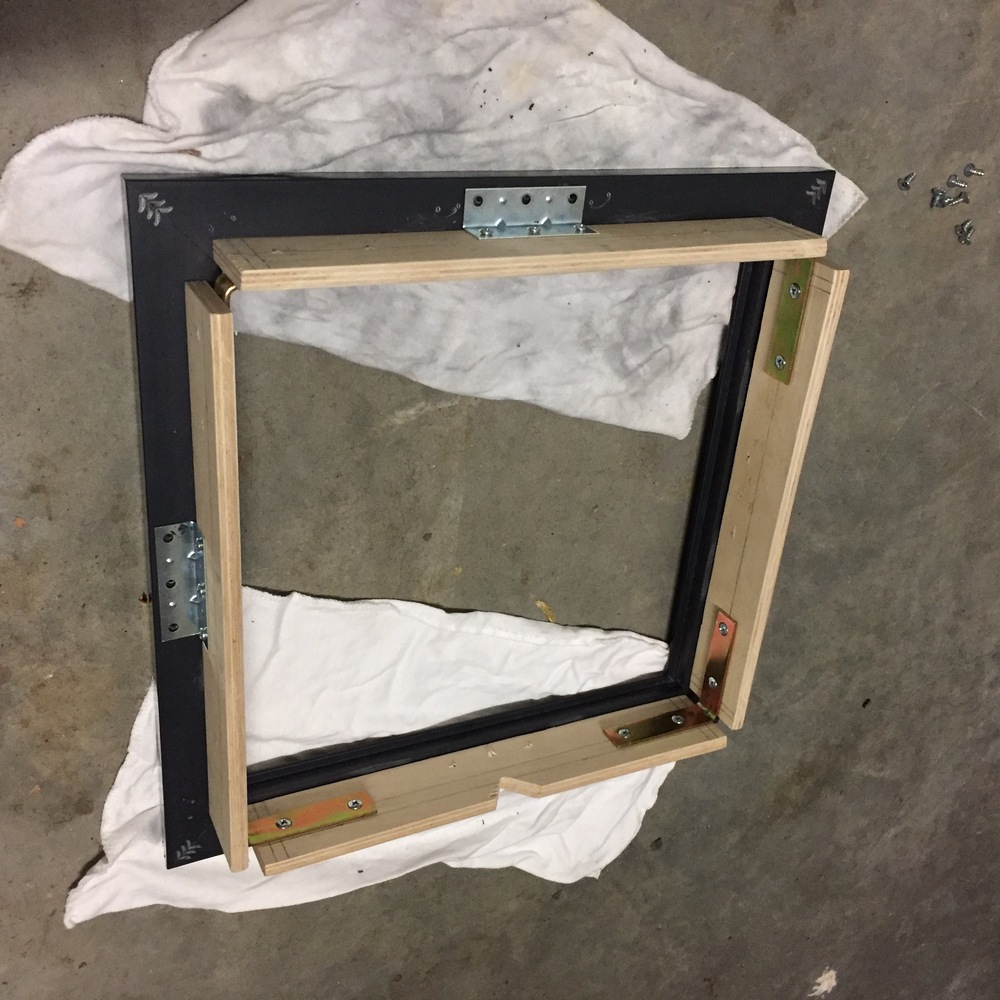
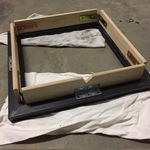
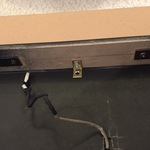
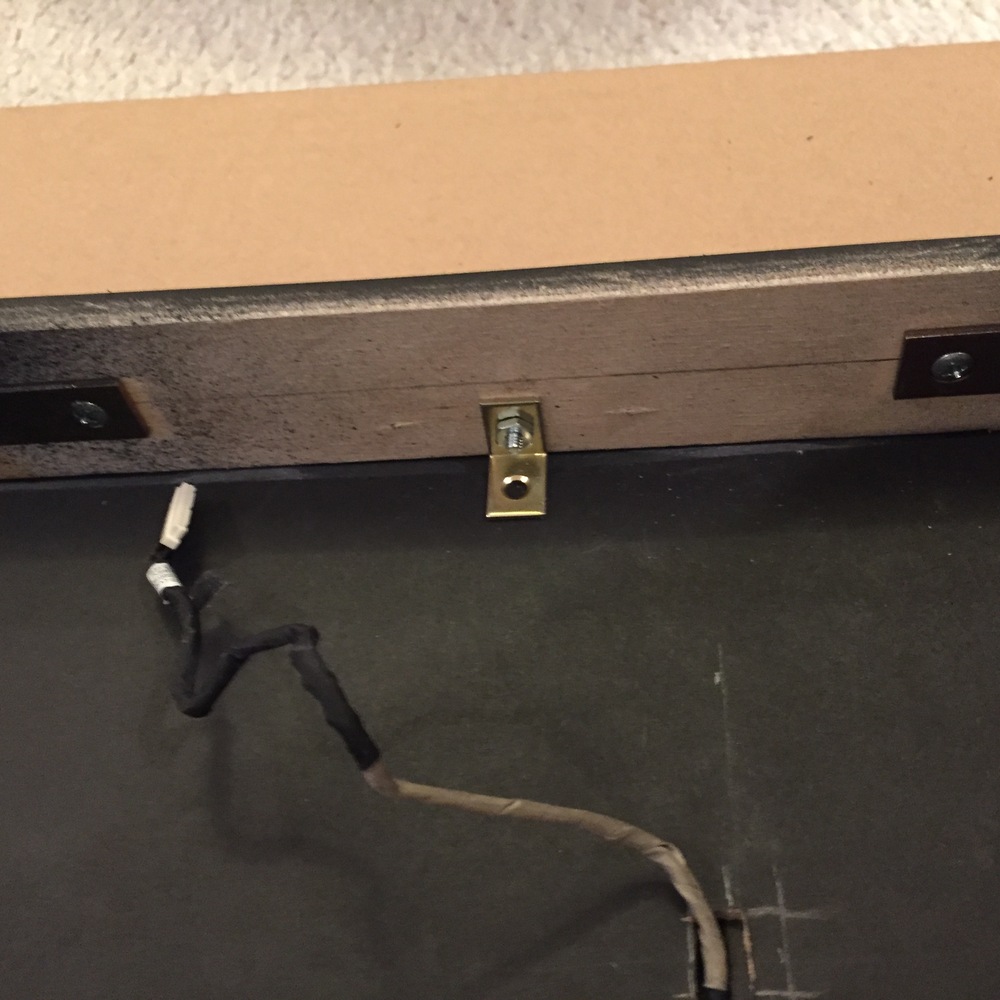
- The picture frame, with the rear enclosure.
-
- Another angle of the rear enclosure.

-

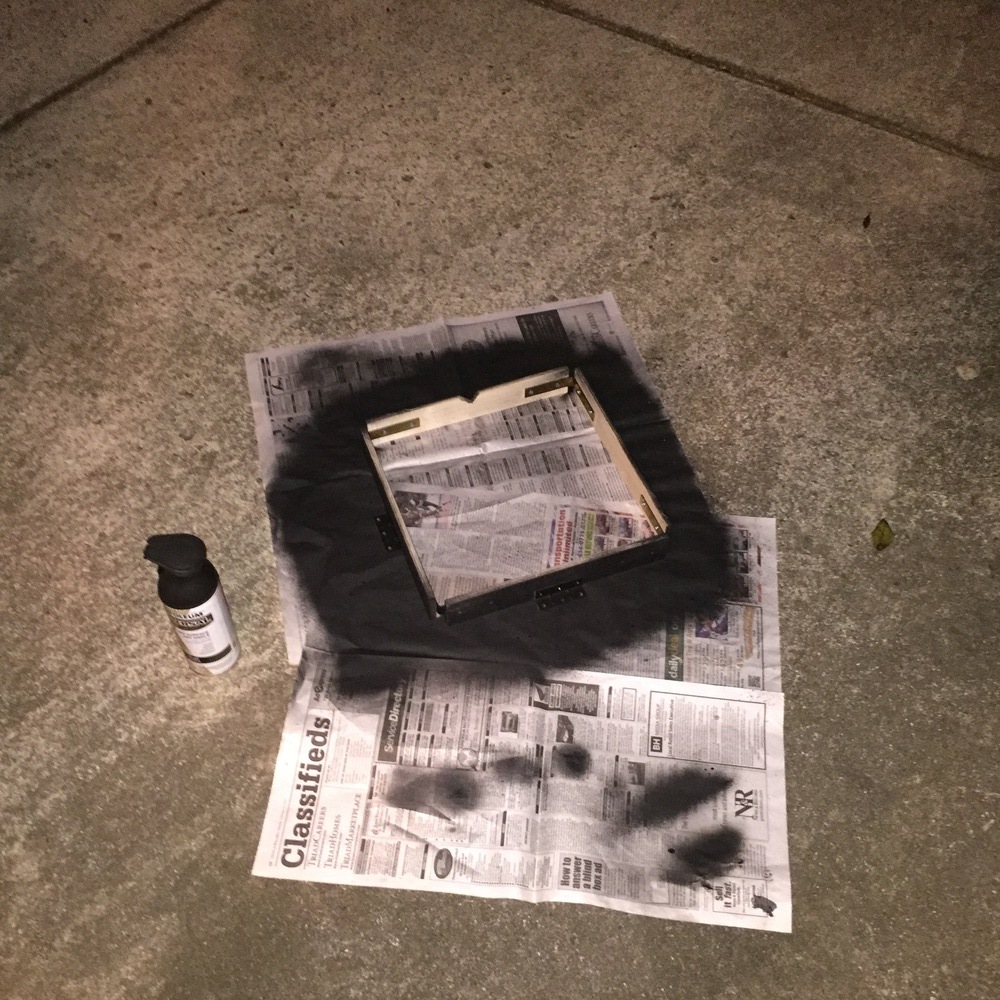
- Spray painting the rear enclosure.
-
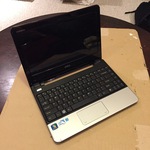
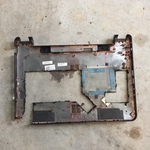
- The Dell netbook that was used.

-
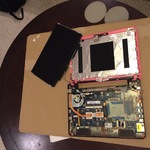
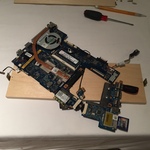
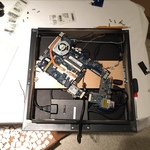
- Netbook partially disassembled.
-
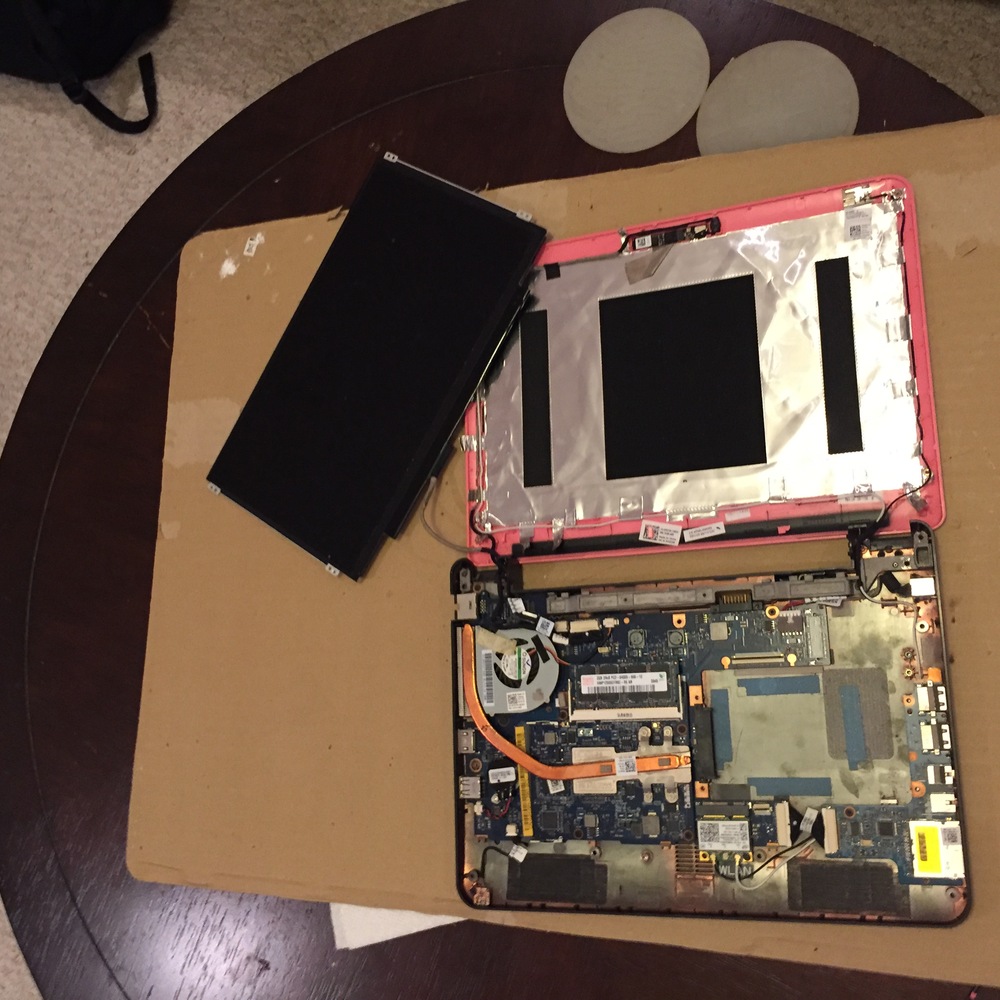
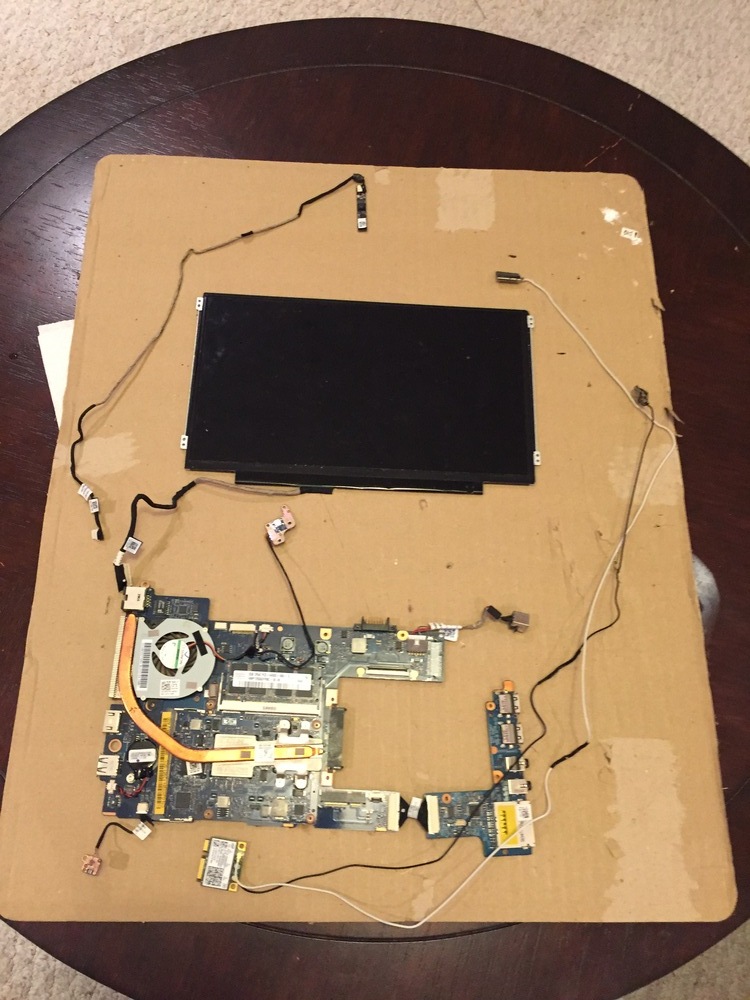
- Netbook fully disassembled.
-

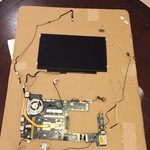
- Mounting the LCD to a piece of foam-core posterboard.
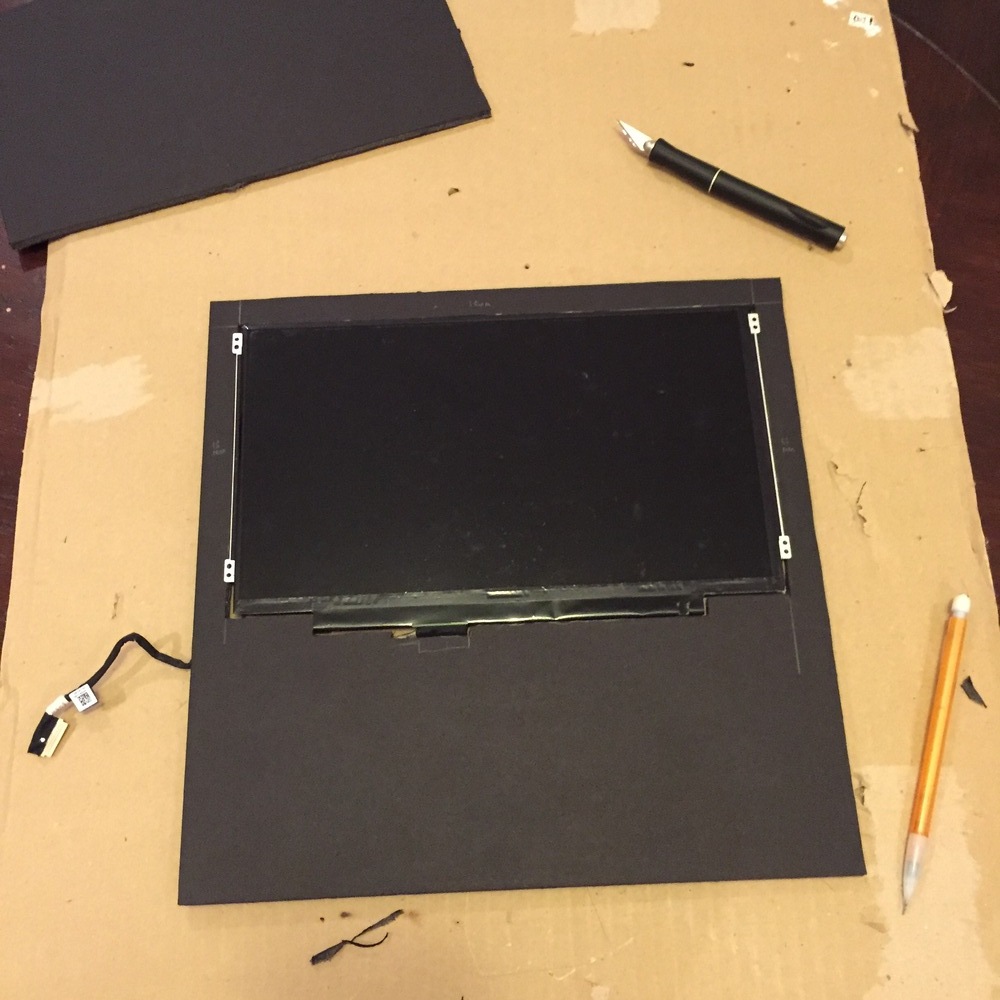
-
- Felt added to the posterboard.

-
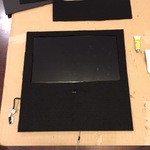
- Rear, after LCD & posterboard are inserted in the frame.
-
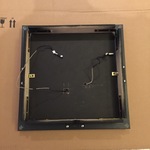
- How the LCD & posterboard are kept in place.
-
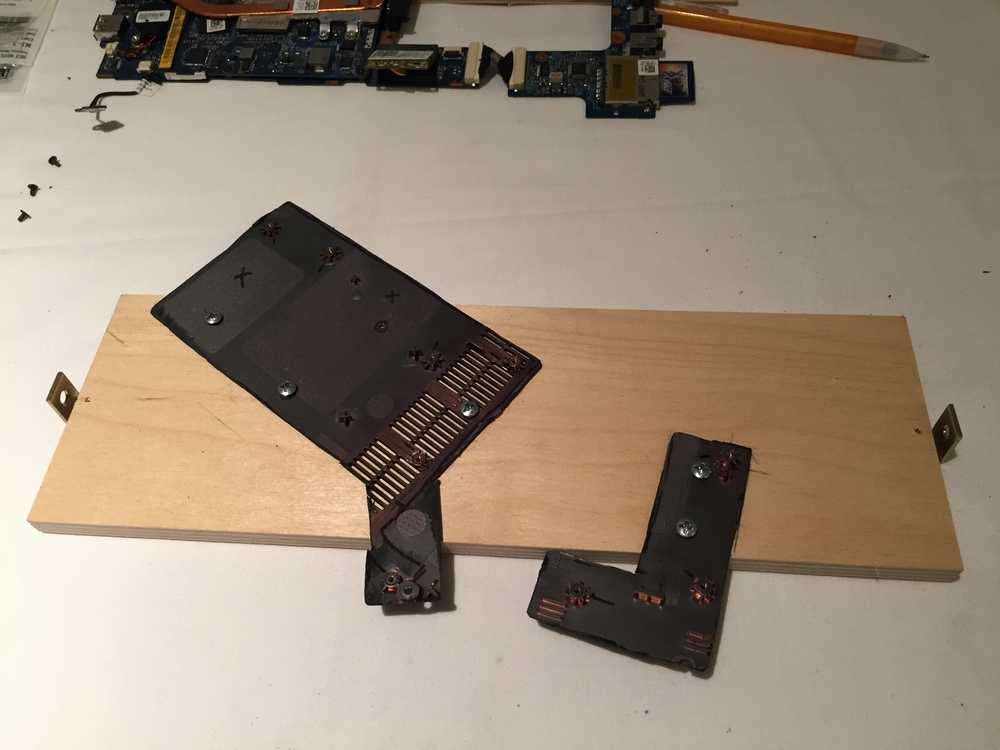
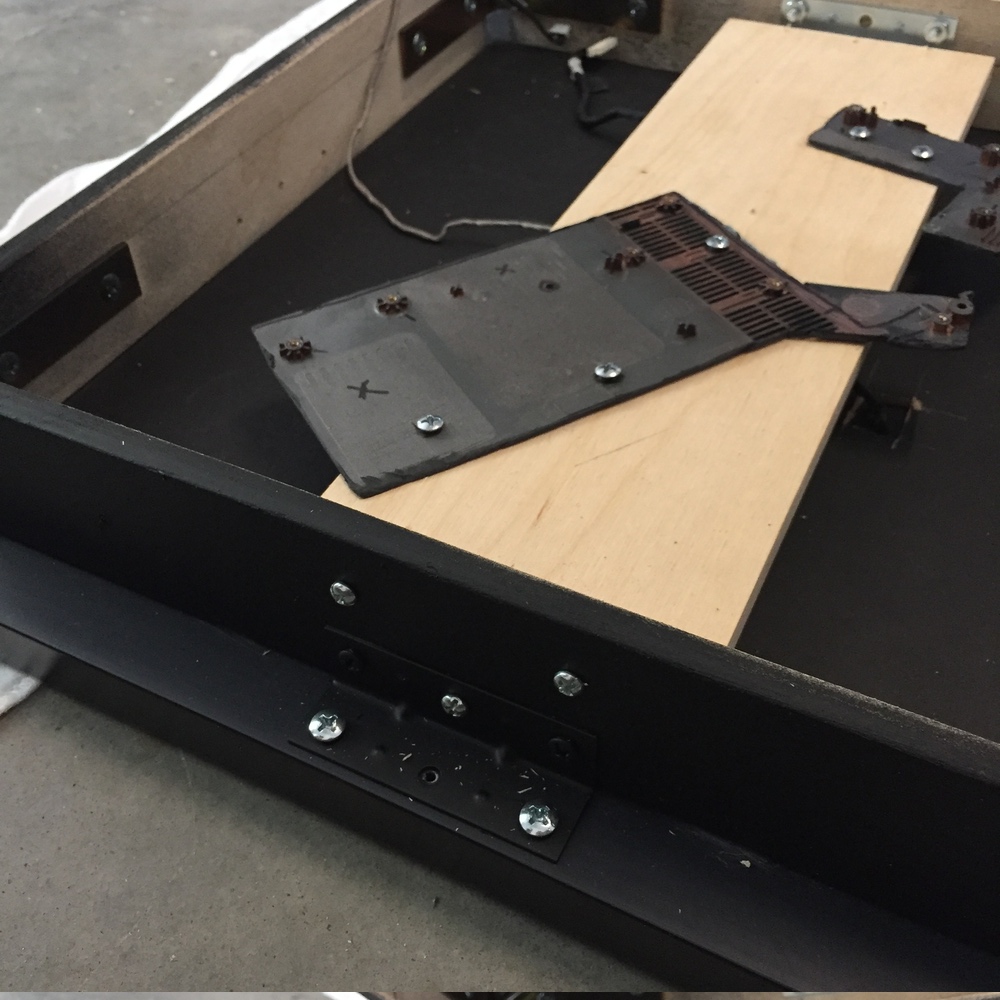
- Cutting out the motherboard mounts from the Netbook chassis.

-
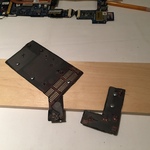
- Attaching the motherboard mounts to a board.
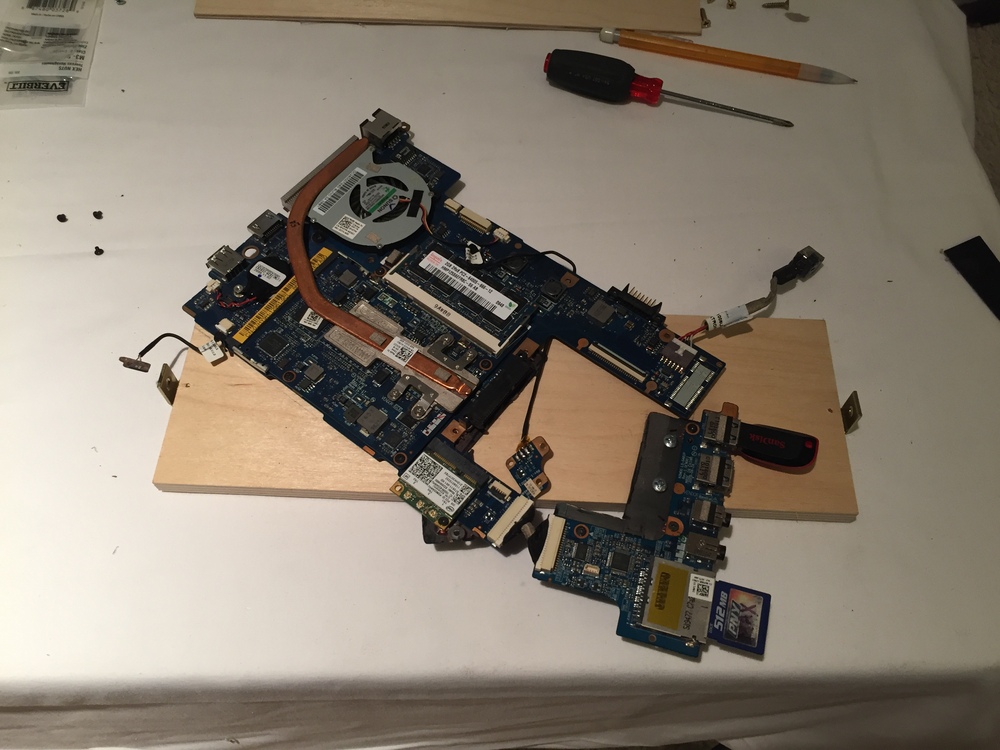
-
- Motherboard in the new mounts.
-

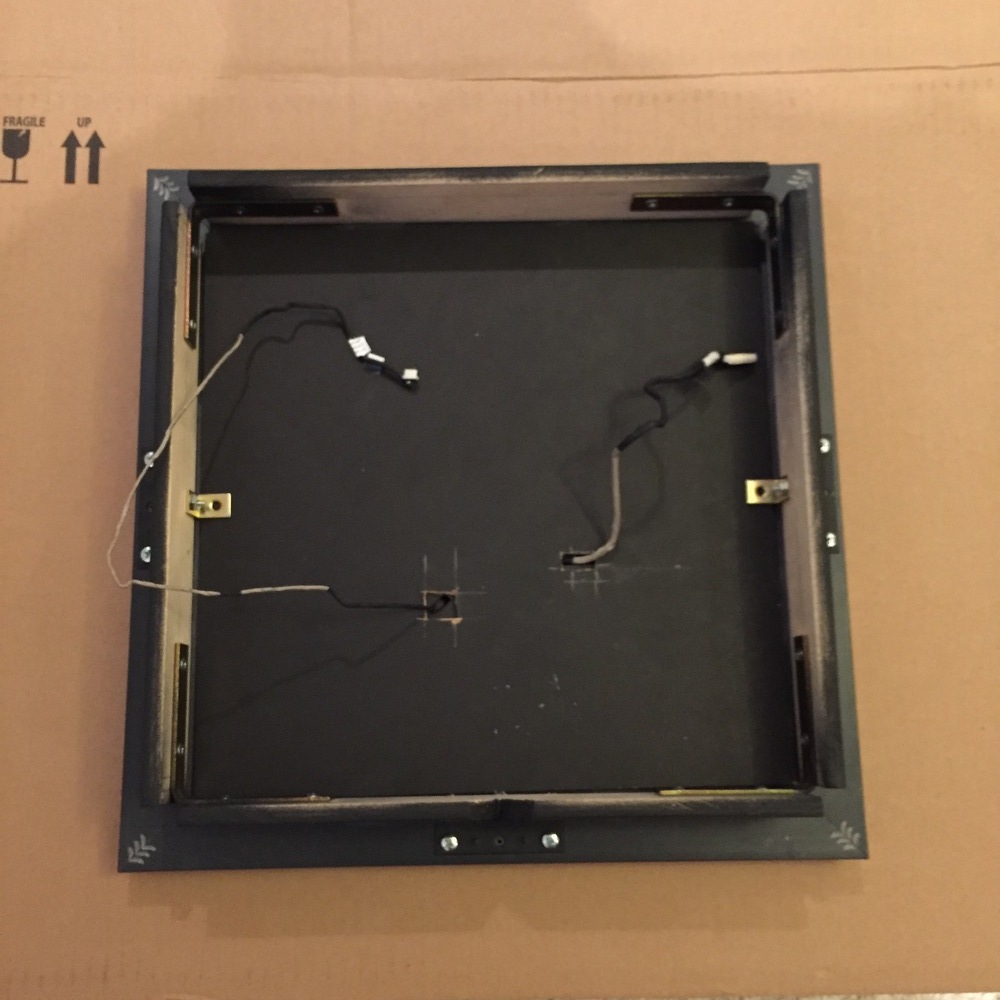
- Motherboard board installed into the rear enclosure of the frame.
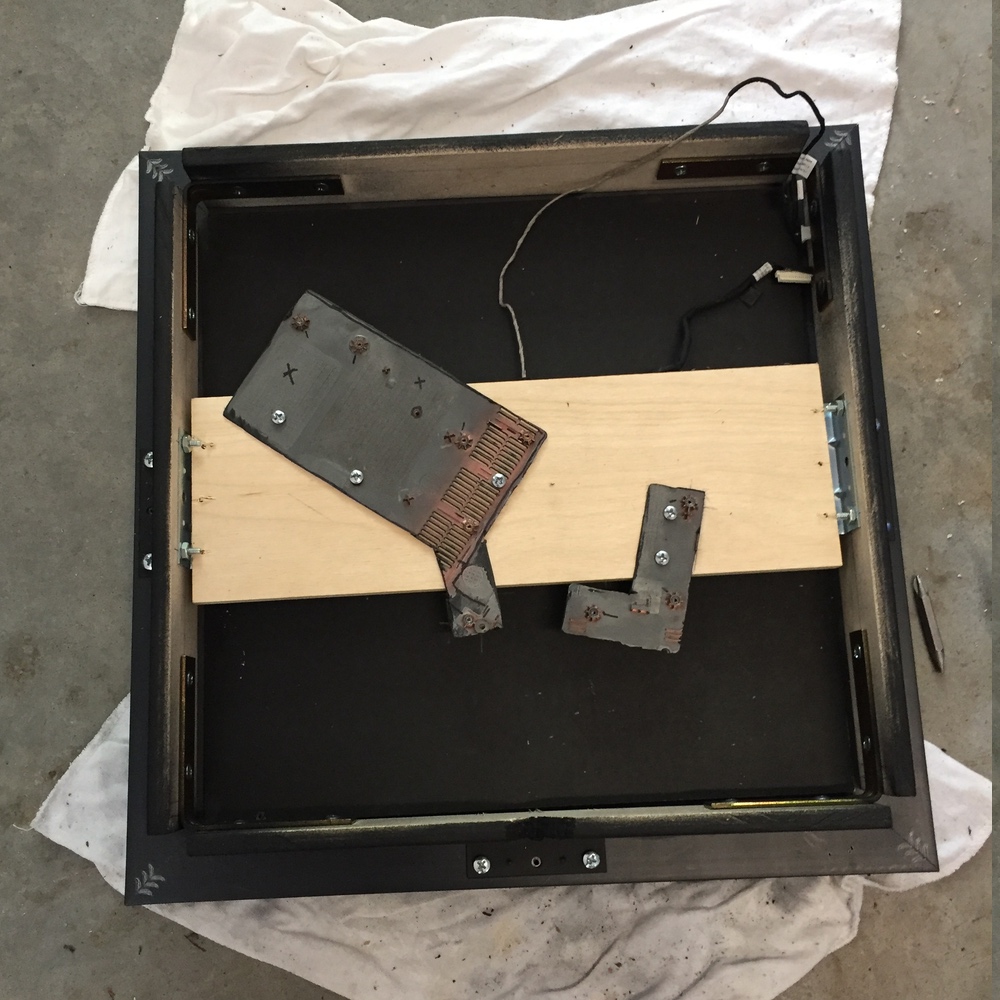
-

- Closer look at how it's attached.

-

- Outside view of the motherboard mount.
-
- Netbook mounted in the rear enclosure.

-

- View of the mirror when LCD is off.

-
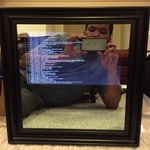
- Powering on the Netbook.
-
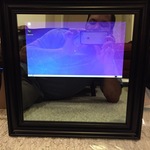
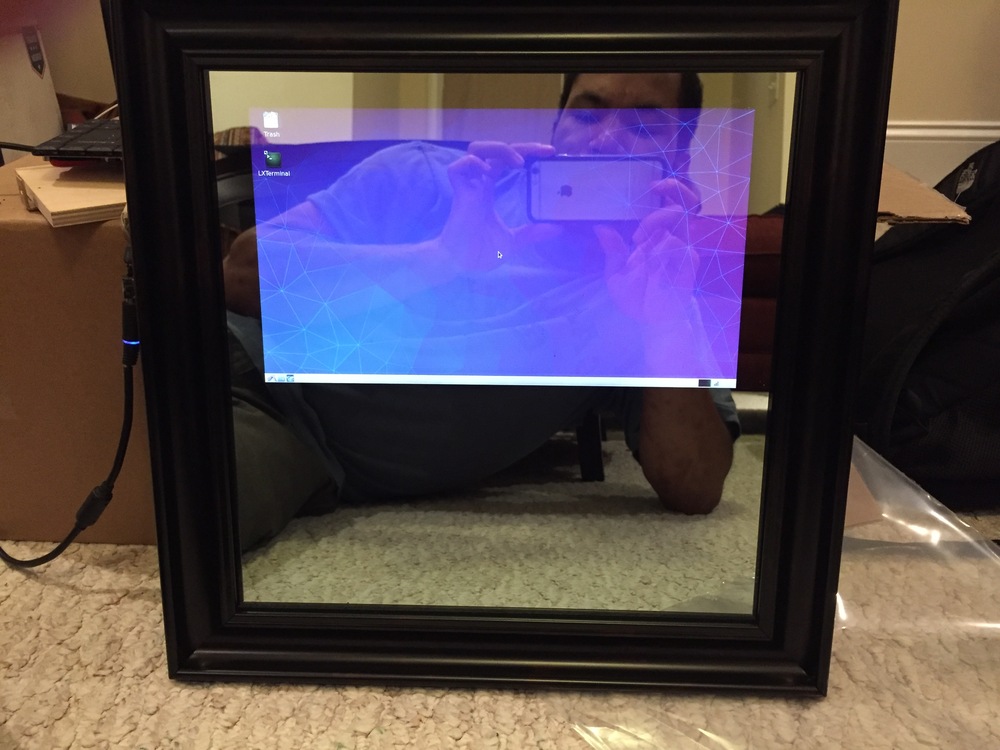
- Destkop loaded.
-

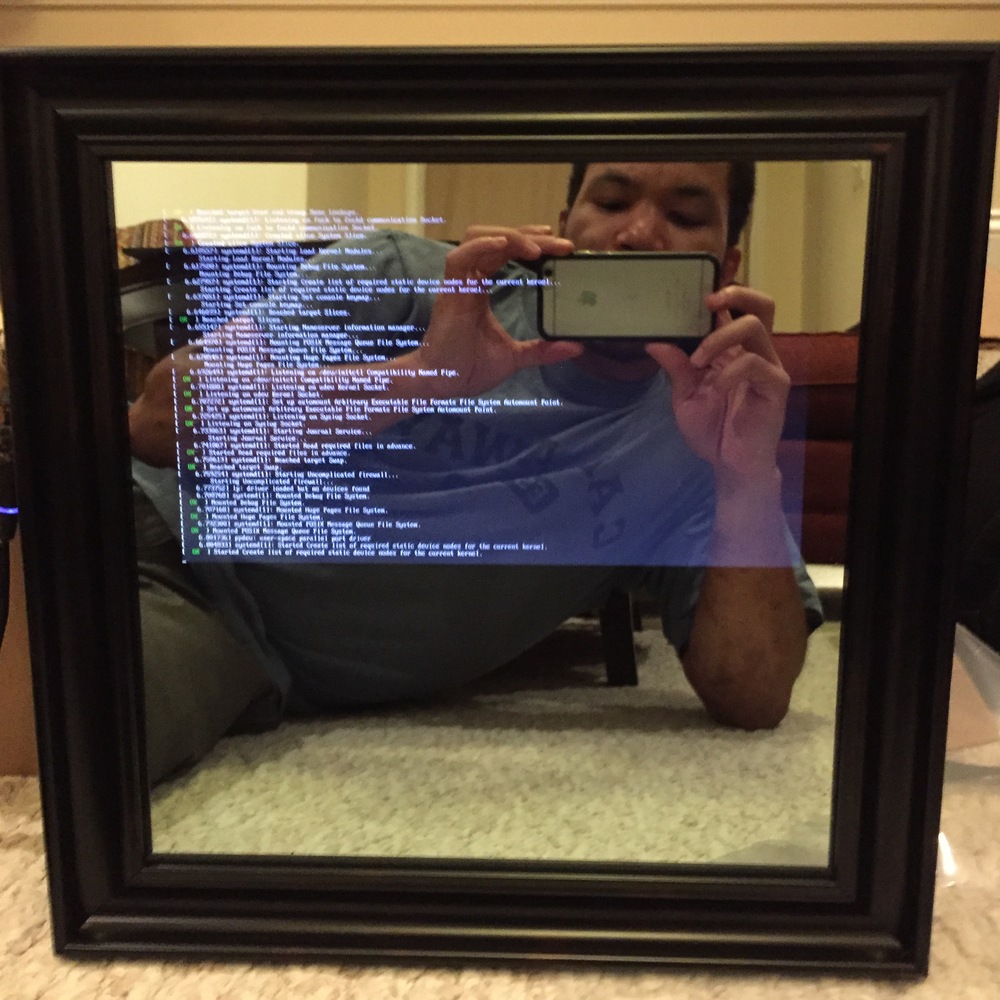
- MagicMirror running!
