
After I completed my first Magic Mirror project, I really wanted a larger one. The first one was kind of a proof-of-concept. Now that I successfully built it, I wanted to make a better one. A bigger mirror, a better frame, an actual Raspberry Pi. So with the knowledge I gained making my first, I started planning my second Magic Mirror.
(I didn’t do a great job of taking pictures this time, several steps are not shown.)
-
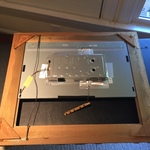
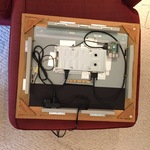
- Seeing how the LCD fits in the frame.
-

- The 'extra' room. Slid all the way over to the left, and then all the way to the right.
-
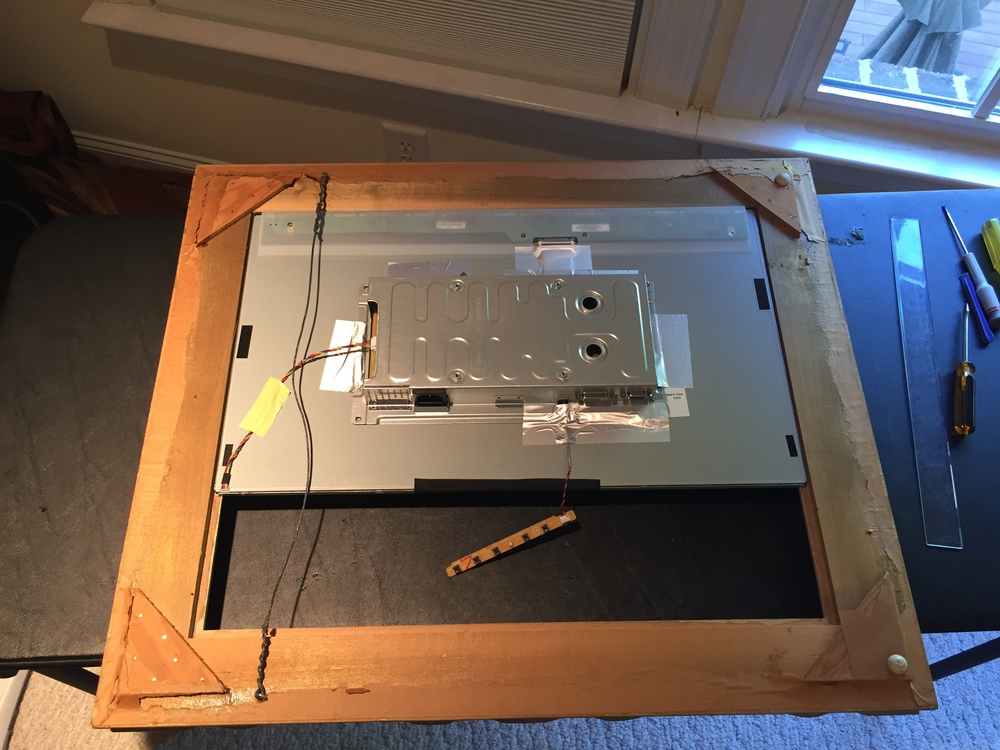
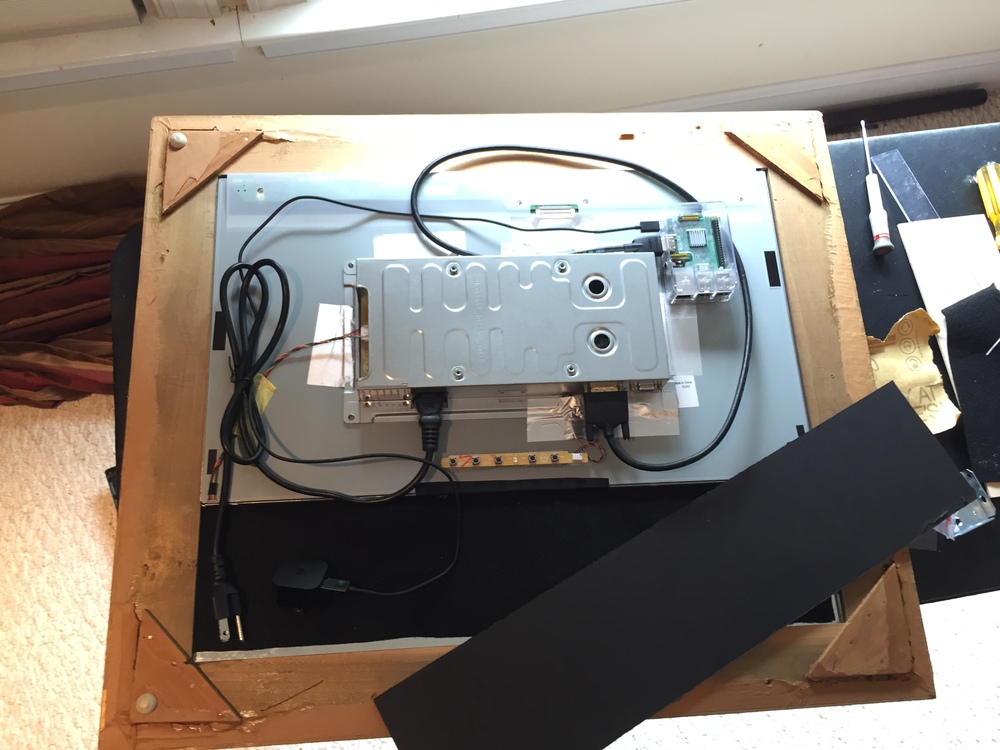
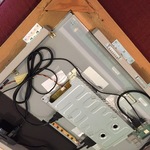
- Working on the positioning of the parts.
-
- Everything in its right place.

-

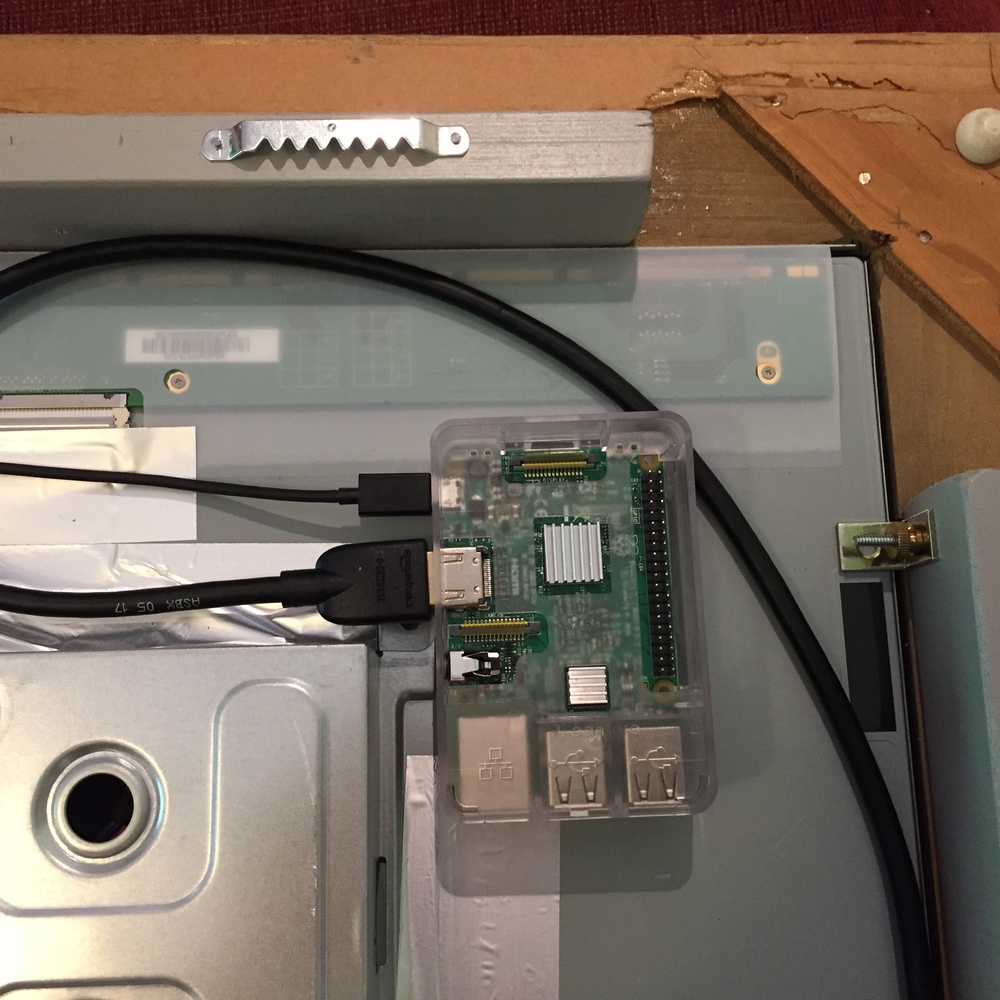
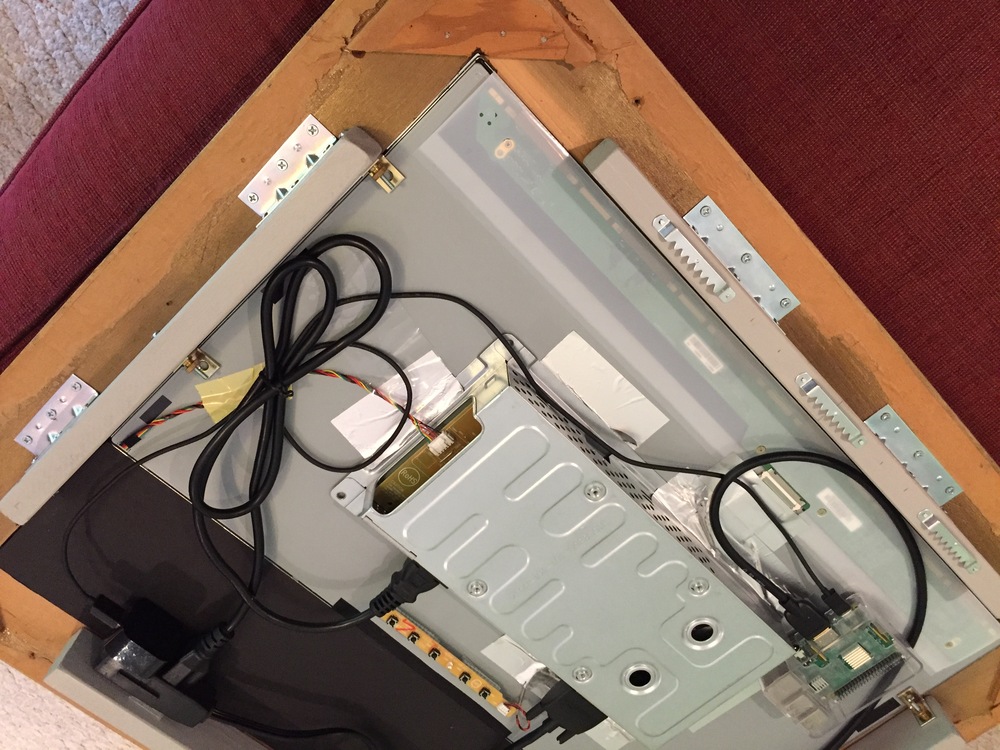
- The Raspberry Pi.
-

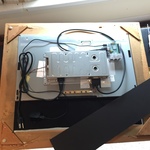
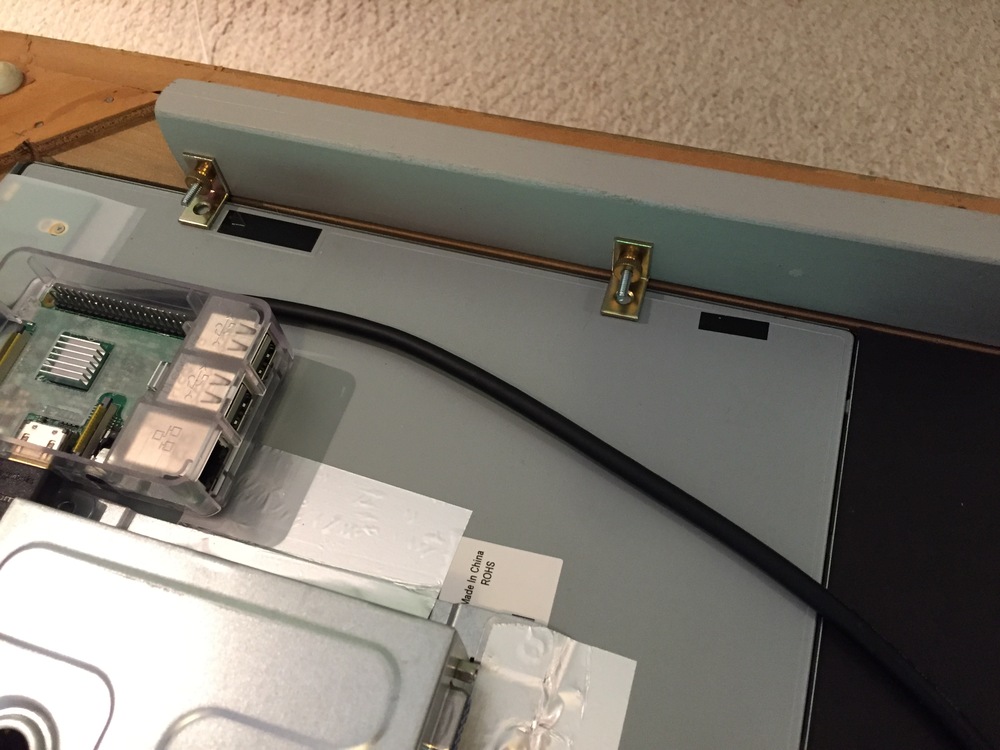
- How the LCD is kept in place.
-
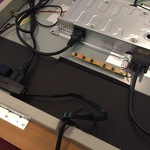
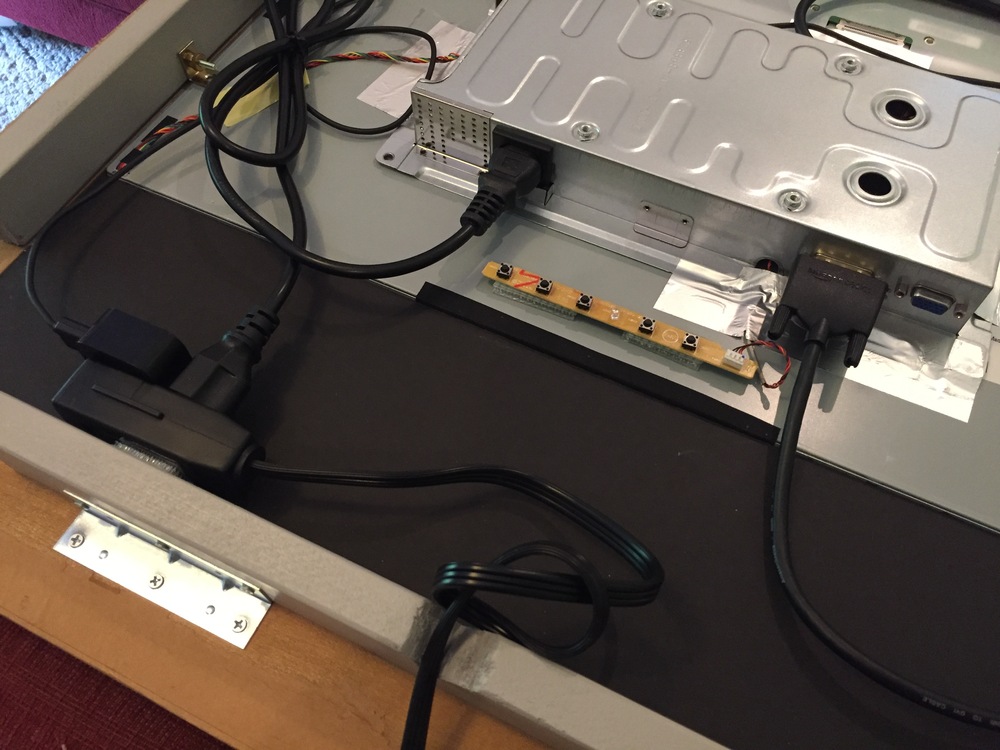
- The power and LCD connections.
-
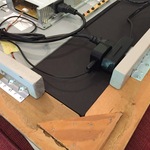
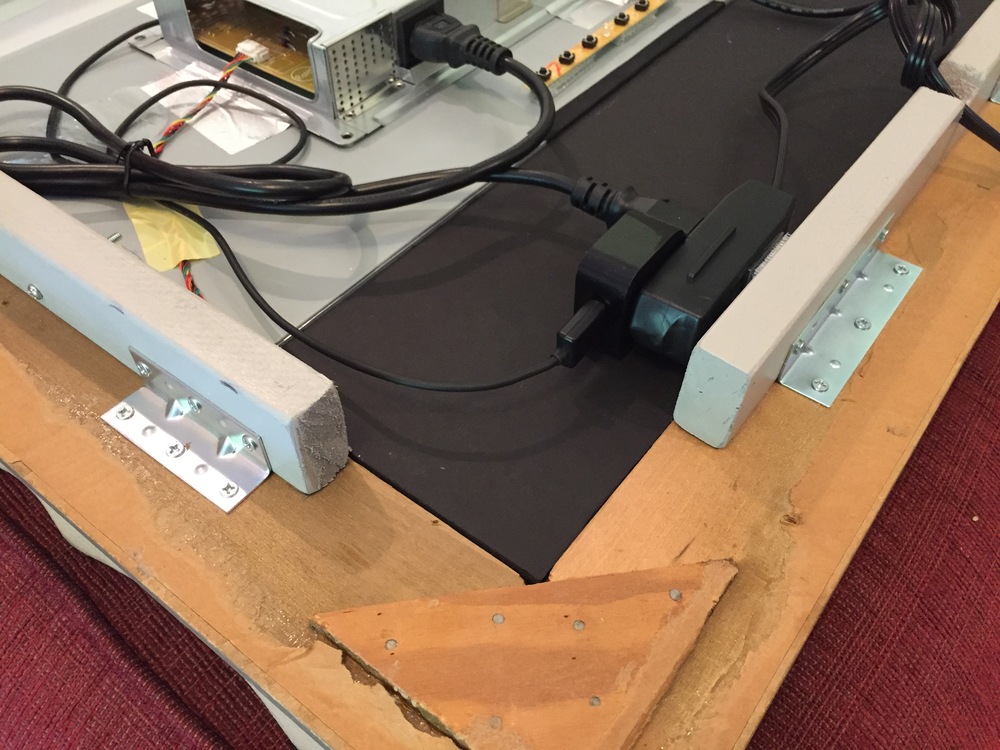
- Another angle of the power connections.
-
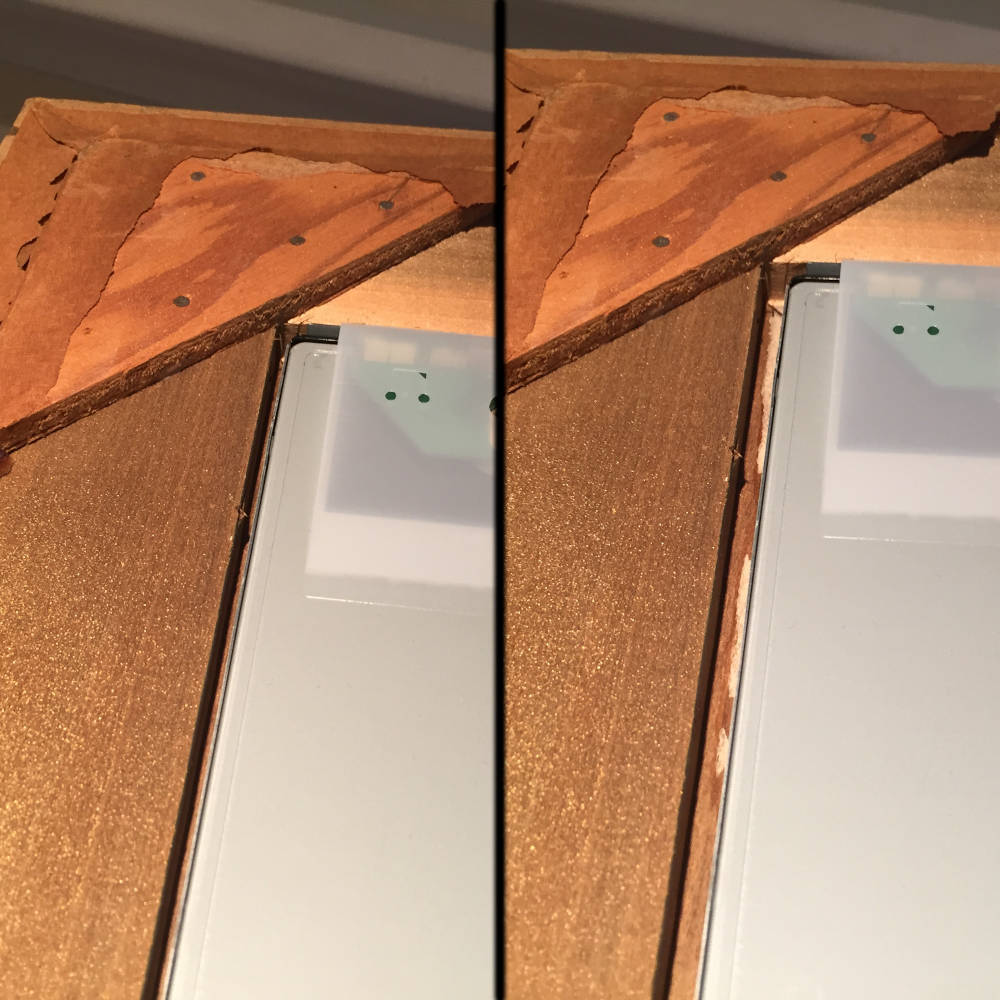
- Rear, top left corner.
-
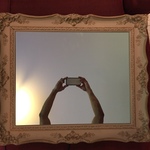
- The front of the mirror, Pi powered off.
-

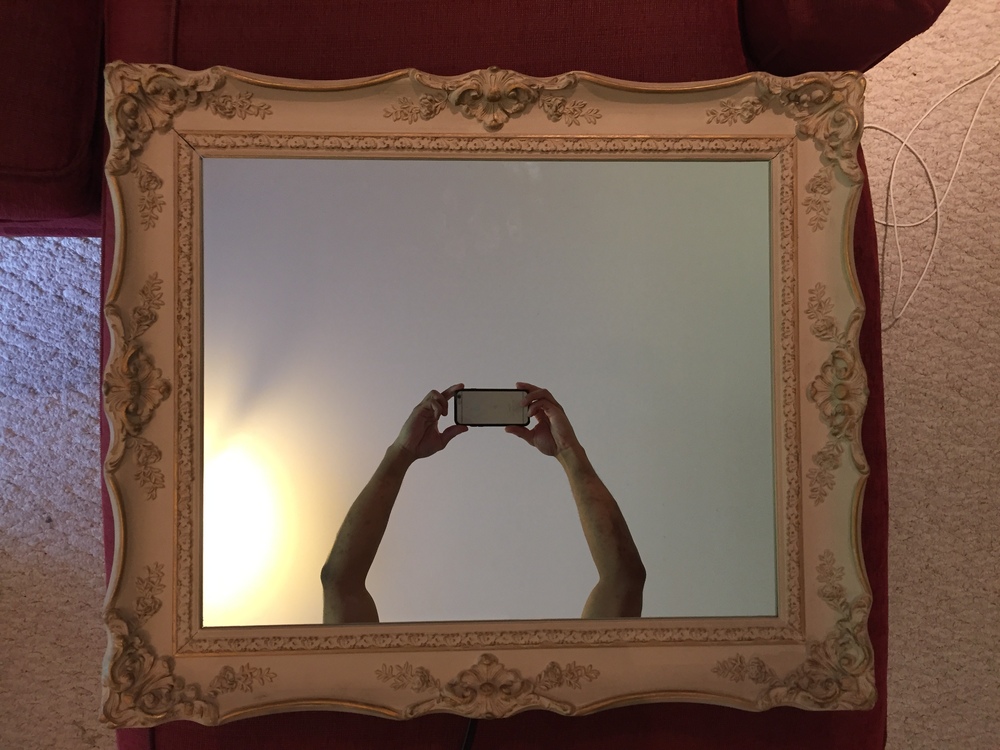
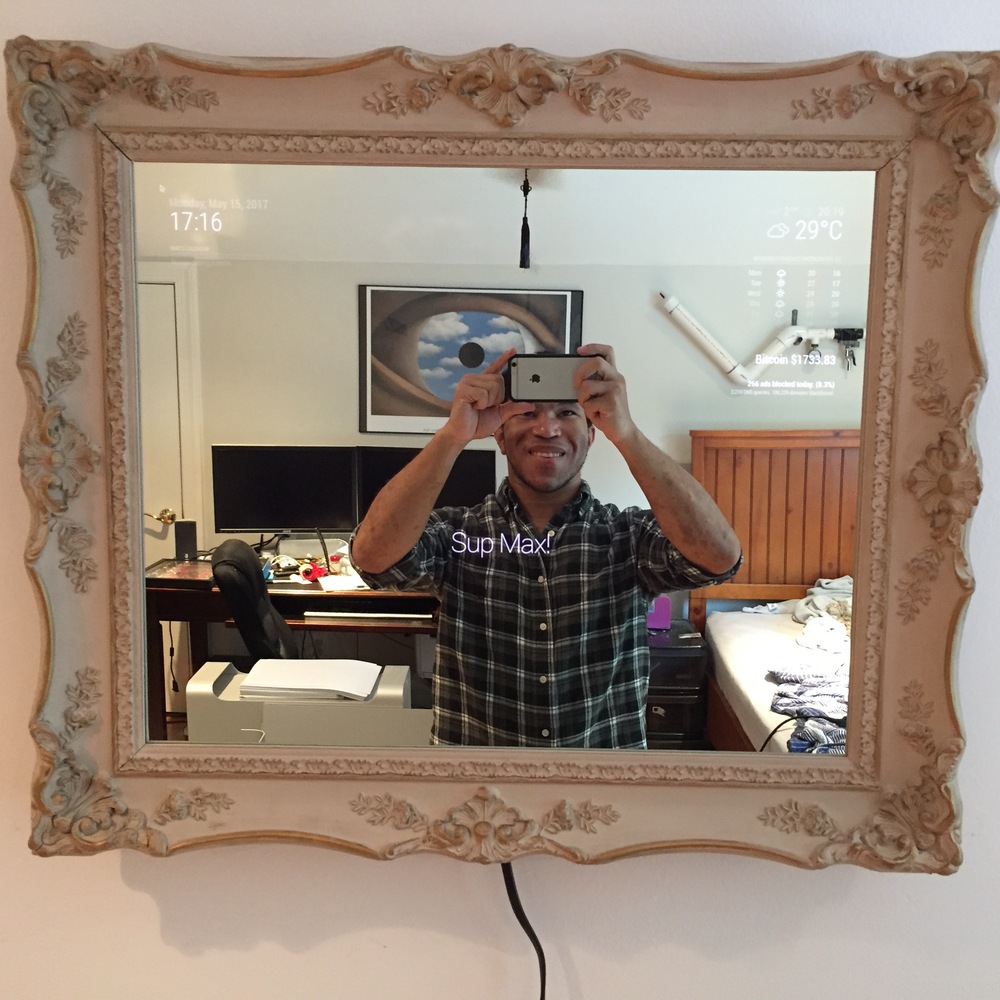
- Powered on and working!
I started off with a 24 inch LCD ($25 Craigslist find). Next I started looking for a frame to fit the LCD. This turned out to be difficult. I ended up finding a guy who was selling a large amount of picture frames. With the exact width of the (disassembled) LCD screen, I went to see if he had anything that may work. By luck, I found something that was very very close to what I needed. The frame also looked pretty nice too.
Next, I ordered the mirror. I decided to order from Two Way Mirrors. My 17.625 in x 21.625 in mirror cost $159, not including shipping, which was an extra $18. This was definitely the most costly part of the project, which was expected.
So with those parts, I started planning how I could get the parts mounted to the frame. Similar to my first Magic Mirror, I used some pieces of wood to create some space behind the frame. That space would give room for the back of the LCD, the Pi, the cables, and also give me a something to attach things to.
With the “rear enclosure” built, I could work on getting the LCD mounted in the frame. Once that was done, I attached the Pi, and necessary cables. With everything physically in place, I set up the Pi and configured the Magic Mirror application.