
Installation
So I have my HPE Microserver ready to go. I’ve already installed the Xeon E3-1225 v1 in it and disabled two cores (2 enabled). I’ve also installed an 8 GB stick of RAM, bringing the total to 12 GB.
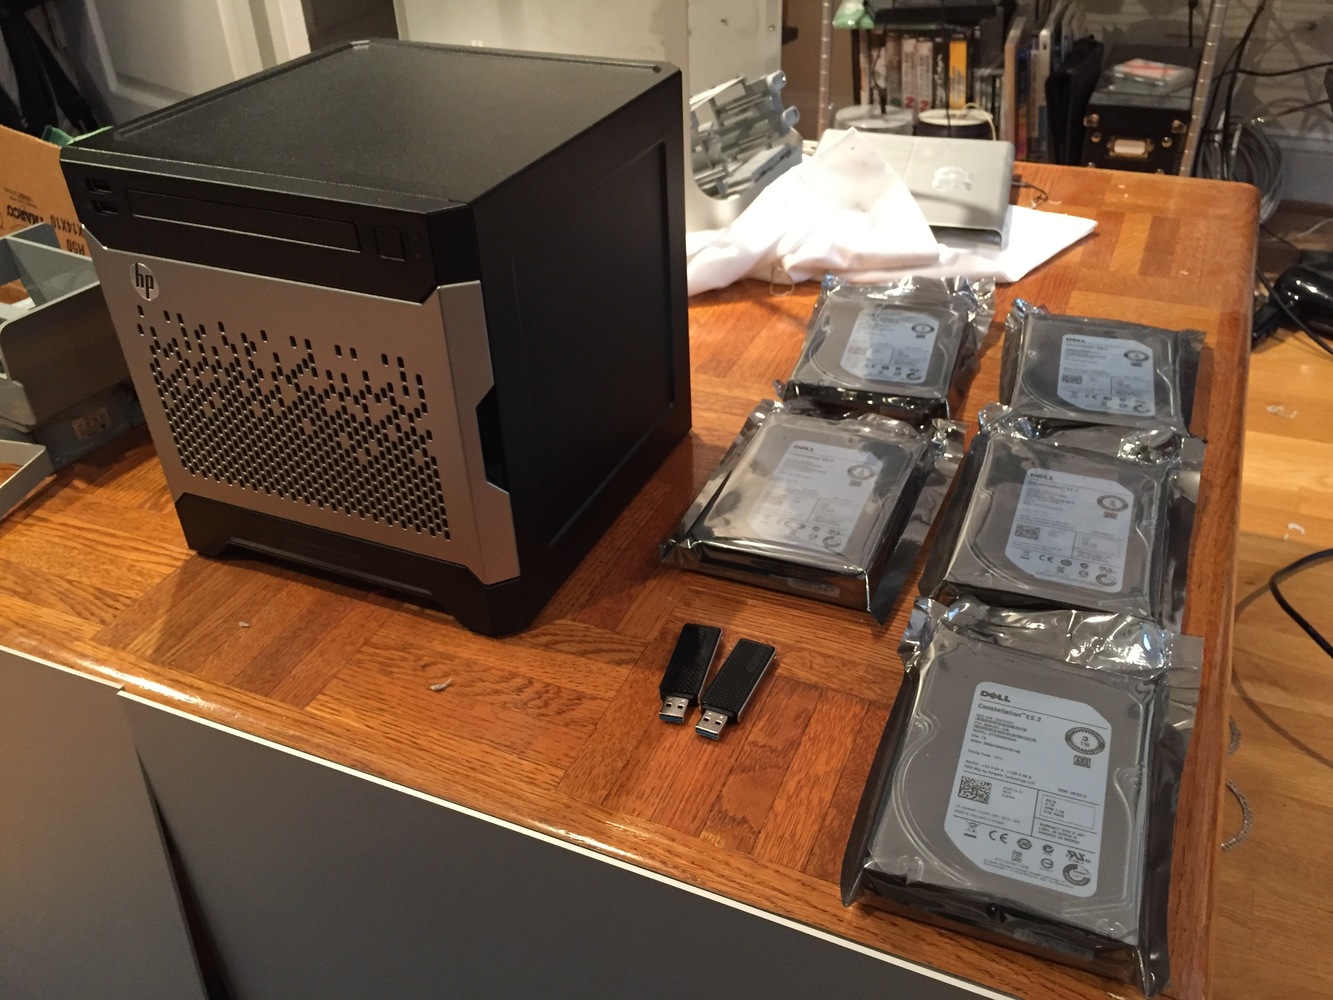
Today in the mail, I received five 3 TB Seagate Constellation ES.2 hard drives, two 16 GB Transcend USB 3.0 flash drives, and two long ethernet cables.
The two 16 GB Transcend flash drives will be used to store the OS (FreeNAS). FreeNAS allows itself to be installed on to two flash drives so if one fails, the other can be used. I figured this was a small cost for additional redundancy.
So far, my costs have are:
- HP Microserver Generation 8 - $350
- Xeon E3-1225 v1 - $50
- 8 GB Micron DDR3-1600 unbuffered ECC - $45
- five 3 TB Seagate Constellation ES.2 - $385
- two 16 GB Transcend USB 3.0 flash drives - $25
Total is $855. My original budget was $800. I went over mostly because of the HP Microserver purchase. I made that a little on a whim, I think I could have found a better price if I shopped around more. No regrets though. $55 to get something that you really want is worth it to me.
Enough words. Pictures!
-

- The Microserver and drives
-

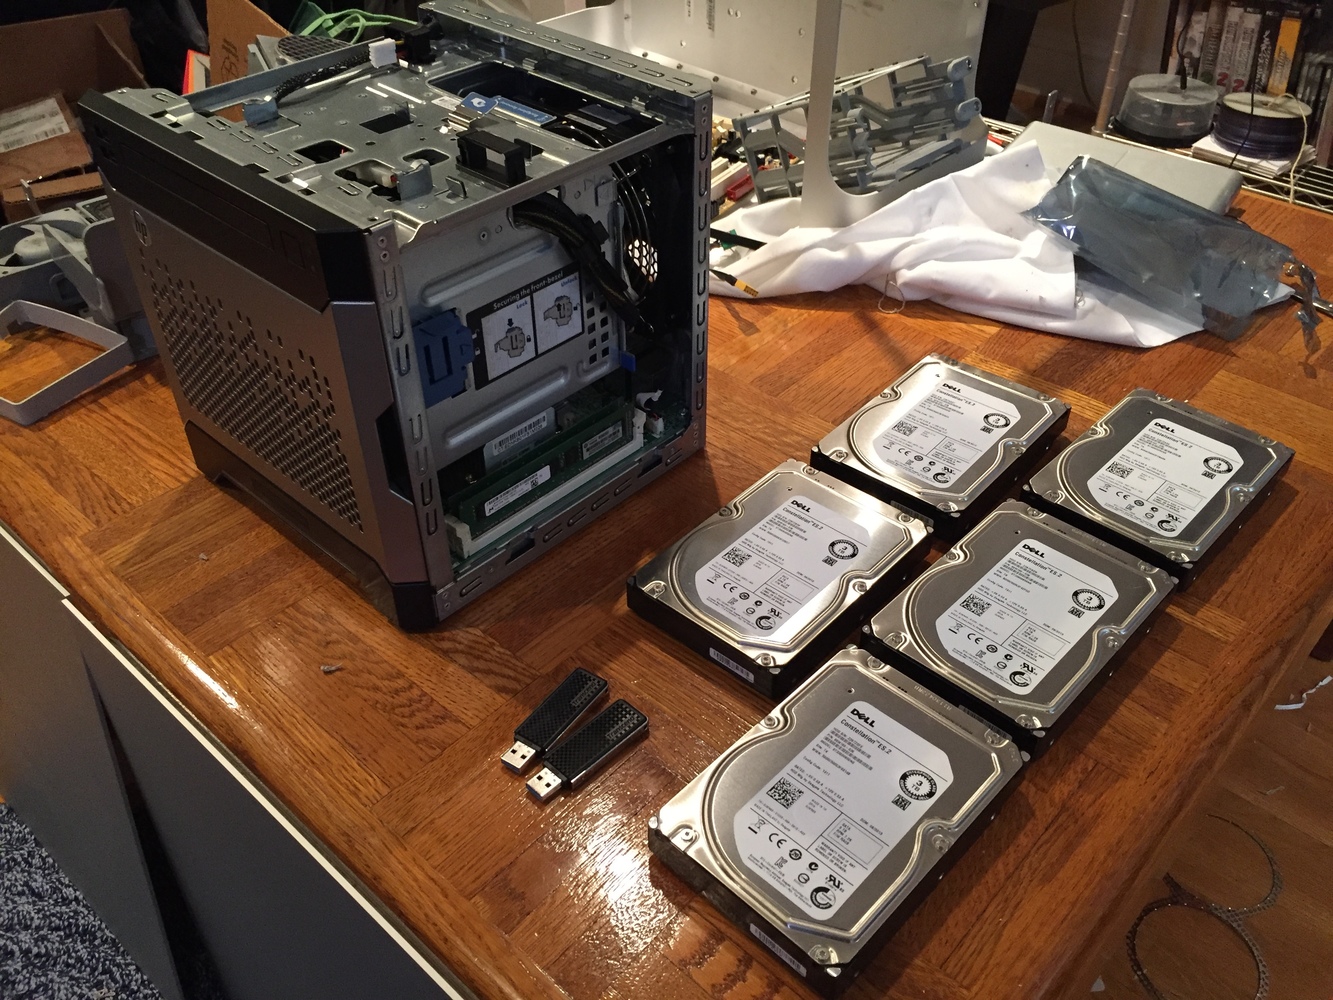
- The Microserver with case removed
-
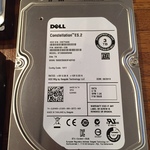
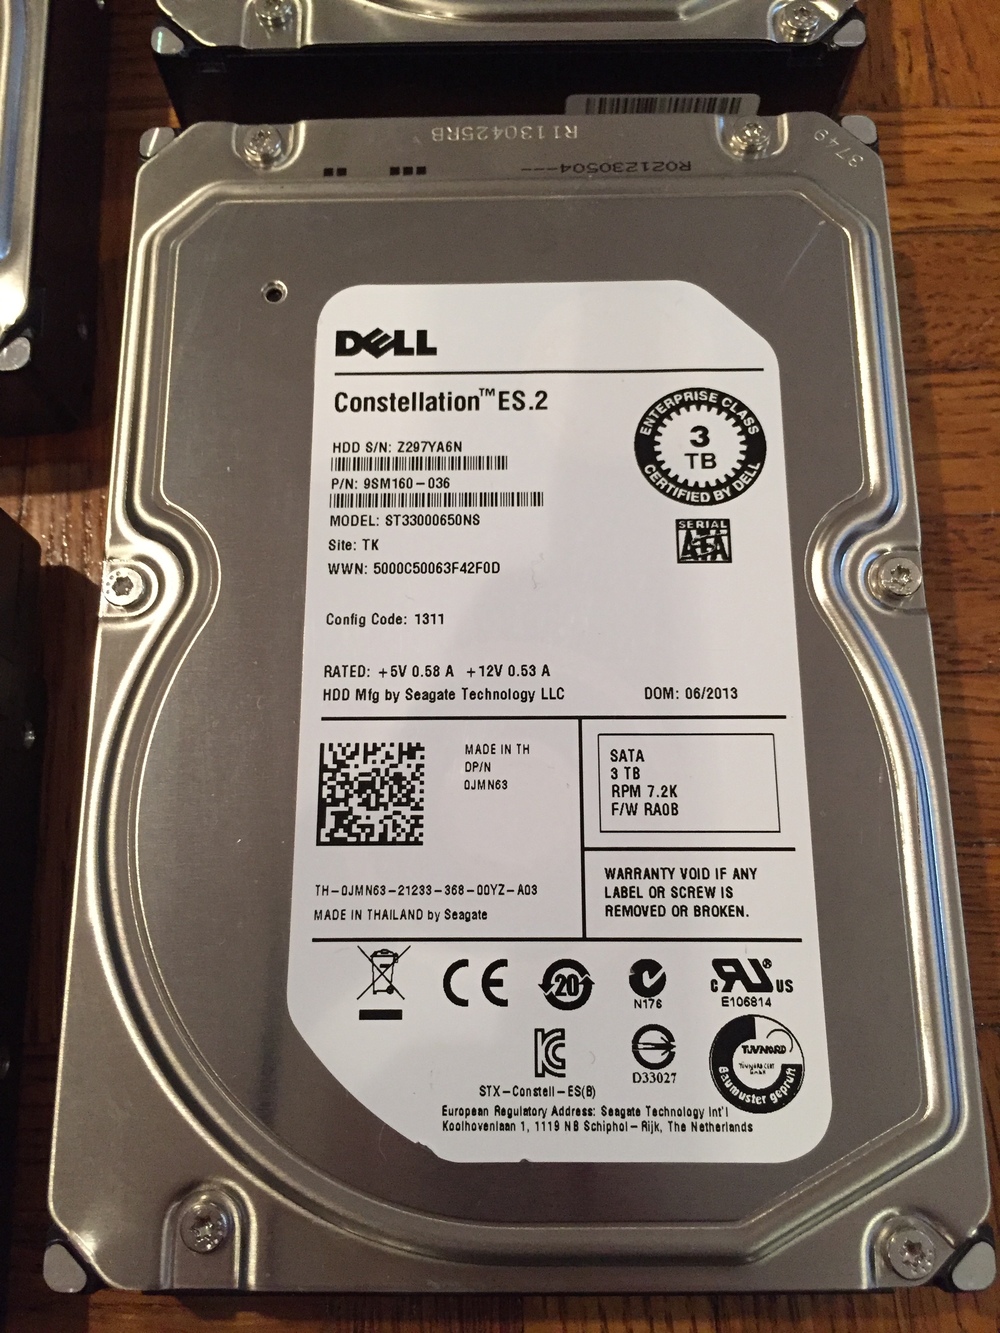
- Closeup of the Seagate Constellation ES.2 hard drive
-

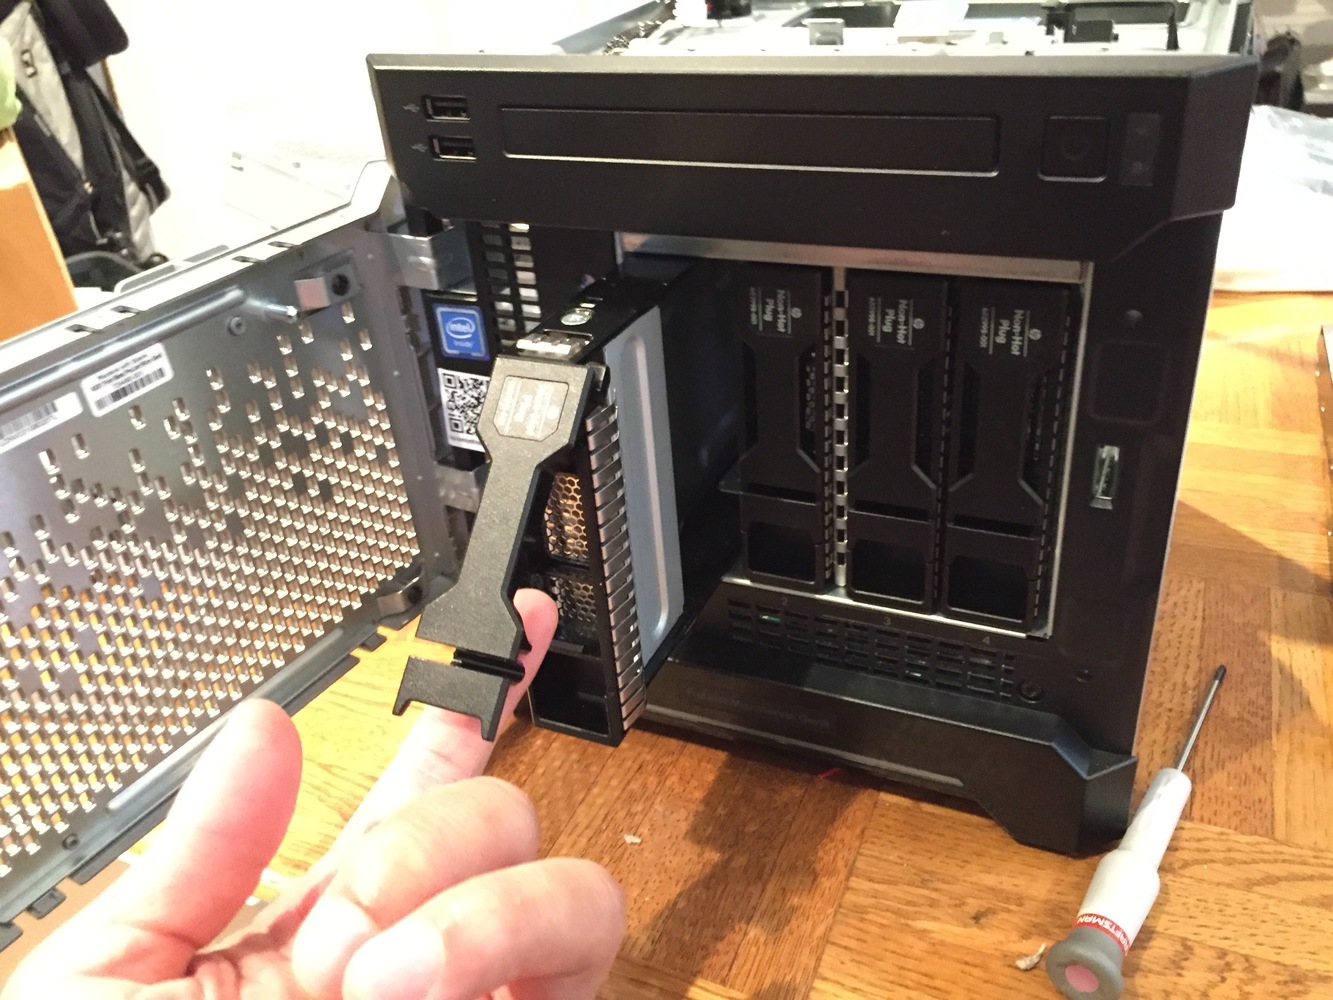
- Front of the Microserver, showing the HDD caddy
-
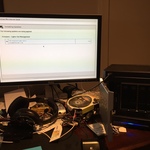
- Installing FreeNAS

Including a SSD
Wells-Family-Vegetarian-Recipes-Final The finished product I have an old 60 GB OCZ Vertex SSD laying around doing nothing so I thought it would be a good idea to throw it in the Microserver. It might sound like a good idea to use the SSD as a SLOG or L2ARC (caches) for the ZFS array, but the FreeNAS Documentation warns that this will only help in some specific cases. And I’m certainly not going to have heavy synchronous writes nor have a working data set that exceeds the RAM in the machine.
What I want to use it for is storage for any virtual machines or containers that I want to have in the future. I have no plans to set up anything using the SSD now, but I did want to go ahead and get it installed.
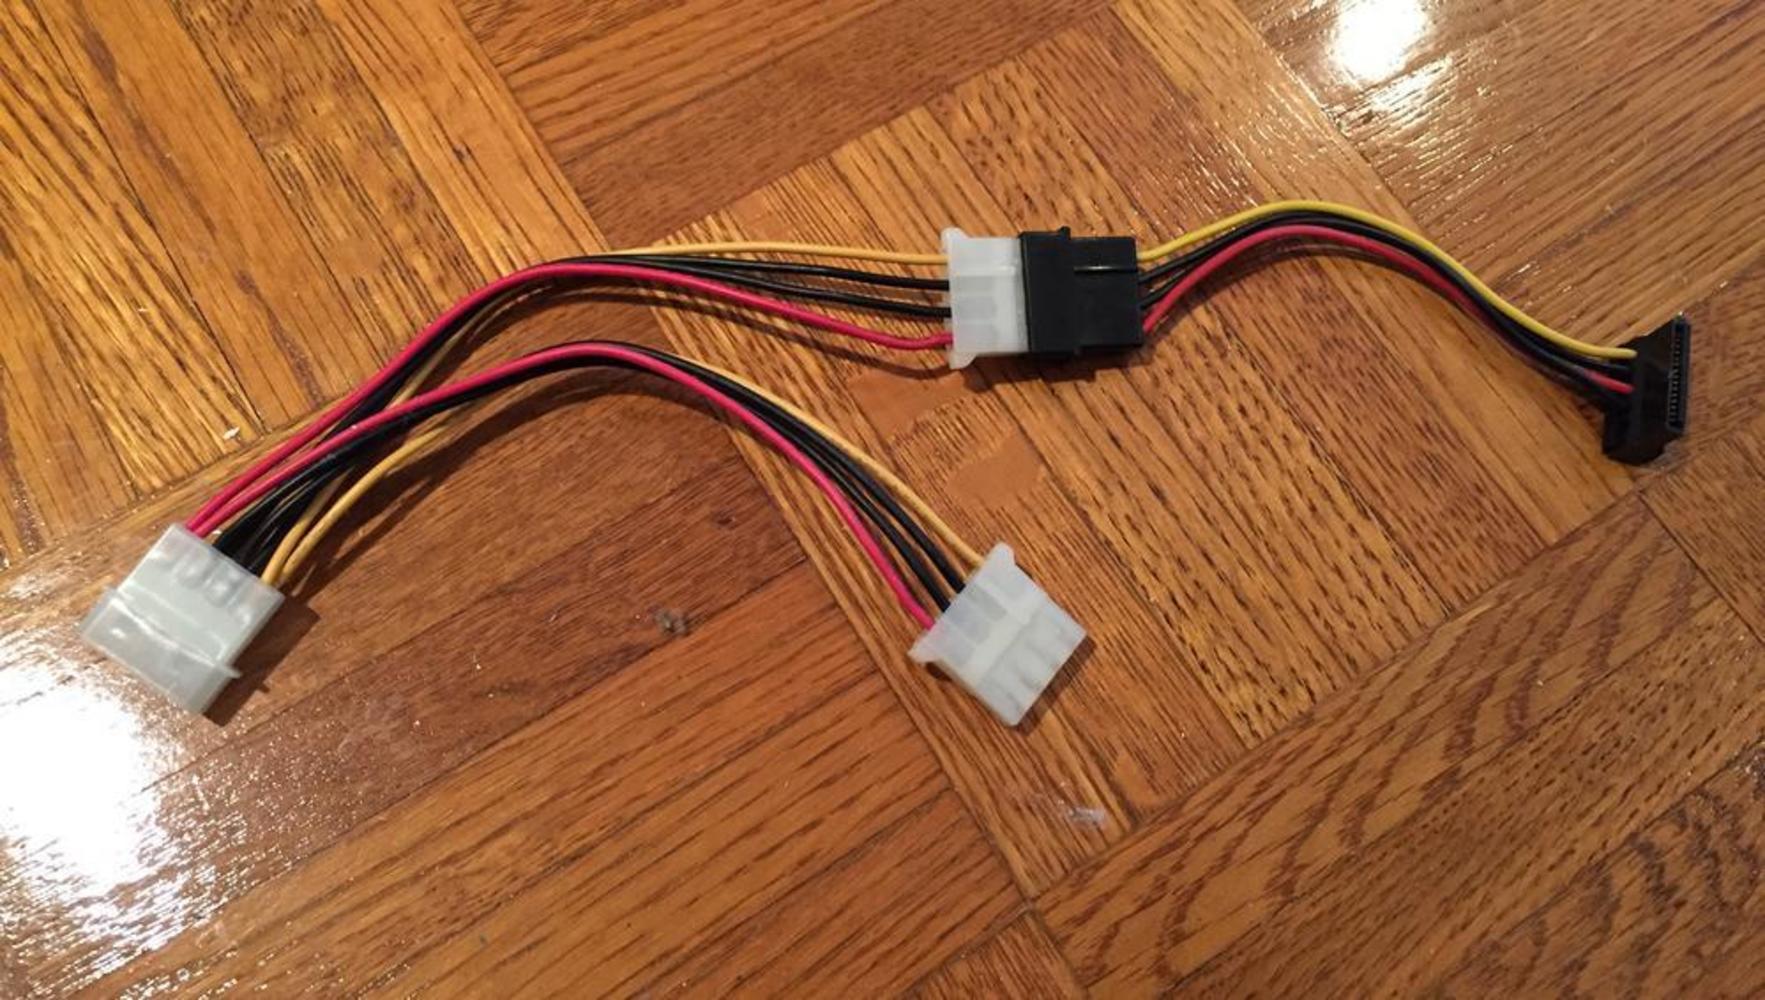
The optical drive bay in the top of the machine is the perfect place to mount the SSD. Only a 4 pin floppy drive power cable is available in the top bay, so I dug through my old stuff to find a Molex splitter (so this can be installed in between an existing Molex connection) and a Molex to SATA power adapter. I will connect the SATA data cable to the Microserver’s single internal (3GB/s) port intended for the optical drive.
-

- The Molex to SATA adapter I put together
-

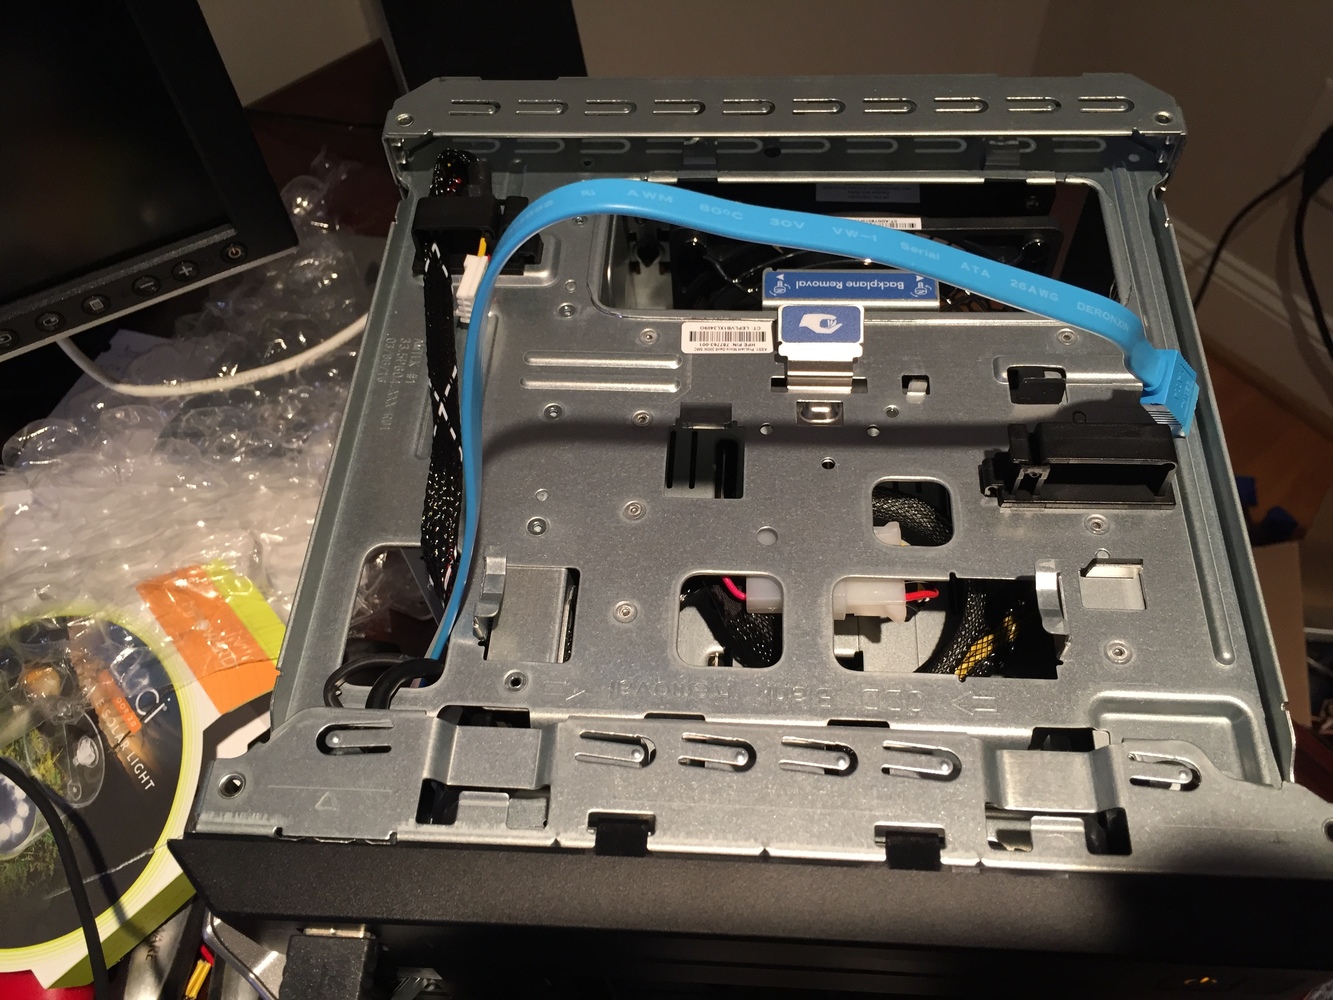
- The optical drive bay were the SSD will go
-
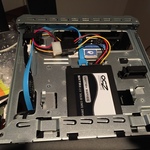
- The SSD installed in the optical drive bay
